

Captain Dapper is all about looking good while maintaining a budget. And it doesn't get more budget than $1.
I've been noticing a lot of nautical woven bracelets this summer. It all started about a month ago when I noticed a cute little nautical style woven bracelet in a store. It had a tiny little anchor as a hook. Oh I loved it! And yet I foolishly passed it up and, much to my chagrin, it is no longer available.
Actually, it really started when I spied a stylish friend's simple woven bracelet, which he had stacked on his arm with a watch on a simple leather strap. Such a great look, I thought, and promptly made a mental note to copy it.
OK, actually, it really, really started when I was about ten years old and discovered that a boy could wear jewelry too. It has to be simple and it's best if it's not flashy, but I discovered early on that boys could wear a bracelet or watch without derision. Well maybe some derision. But anyway, ever since then, I've had my eye on wrist wear.
Now, before I go any farther back and tell you about how I dreamed of accessorizing in the womb, let me tell you all about a simple little DIY nautical style bracelet I threw together.
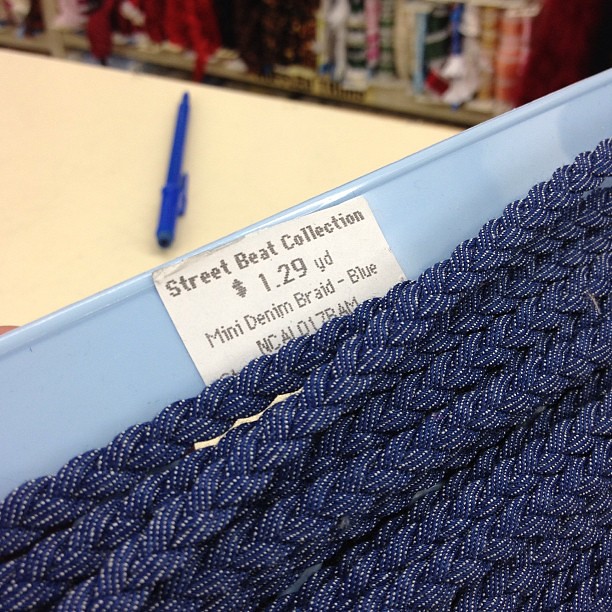
I started with one yard of woven denim trim that I picked up at the fabric store for $1.29. I know what you're thinking. I said it was the $1 nautical style bracelet but the trim was actually $1.29. You got me there. But, hey, The $1 Nautical Style Bracelet makes for a much better title! I know what else you're thinking. Street Beat should be a band name. Yes, I think so too. Go forth and make music, young reader, and call yourself Street Beat!
Back home with the trim, I tied a knot in one end. First, I folded the trim:

Then, I made a loop around my fingers:

Then I brought the folded end through the loop and created a knot:

I slid the knot closer to the folded end and tightened it. I made sure to leave a little of the folded side of the trim sticking through the end of the knot.

With the first end knotted, I wrapped the trim around my wrist to size it. Once I was happy with the size, I marked the trim but folding it over (just as I had folded the first end) and made a knot.

When tightening this knot, however, I left a little more excess trim between the folded end and the knot itself. This will be the "clasp" of the bracelet, allowing the other knotted end to slide through this loop.

I continued tightening the knots and then trimmed the excess braided trim. And voila! A bracelet!

Now, if I were really a sailor I would be able to tell you what kind of knot I used. Then again, if I was a real sailor I probably wouldn't be sitting at a yellow desk in my living room making bracelets!
Images: Jason Loper
No comments:
Post a Comment